Updated: April 16, 2025
Uploading files Using Google Drive
Accessing the Media Storage
To access Media Storage, Click on the “Media Storage” from menu pane .
Uploading Files
- Click on Upload blue button and hit Upload File to open your computer file browser.
- Select the files you wish to upload or effortlessly drag and drop them directly into Media Storage. The improved drag-and-drop functionality ensures a smooth and quick upload process.
- Commonly uploaded files include: headshots, property images, owner-related documents, owner packets, or PDFs you want to email to potential leads.
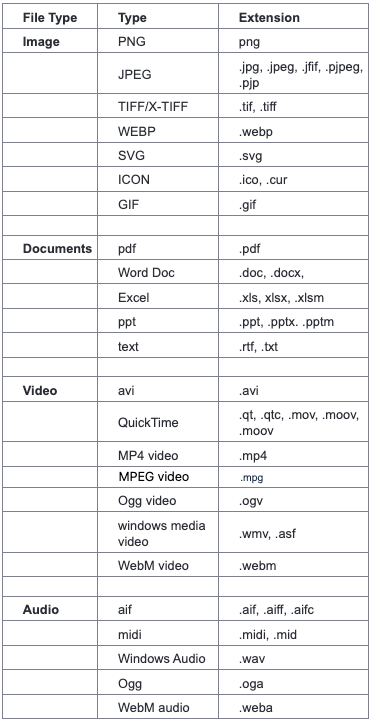
Maximum file size allowed:
-
Videos - 4GB
-
Documents - 100MB
-
Audio - 100MB
-
Images - 100MB
Organizing Files
To help keep your files organized, you can create folders.
- To create a folder, click on +New Upload blue button and select New Folder.
- Enter a name for the folder you want to create and Click Save to create.
- You can upload files directly and then drag them into the folder. You can also upload a file and then right click to select Move to Folder. Select the appropriate folder and click Move here to move it.
- You can also open up a desired folder first by double clicking it before uploading a file. The new file uploaded will automatically be saved into the opened folder.
- You also have option to toggle between grid and list views to customize how you see your media files. This allows for better organization and easy access to your files.
-
You can organize your media files using the new sorting options:
• Sort by Name: Choose between A to Z or Z to A.
• Sort by Size: Select from Smallest First or Largest First.
• Sort by Modified Date: Opt for Newest First or Oldest First.
Renaming Files
- Right click on the desired file and select Rename.
- Type the new file name and click on Save once completed.
Deleting Files
- Right click on the desired file and select Delete.
- Confirm you wish to delete the desired file and then select Delete.
- You can also delete a file by selecting it and then selecting the trash can icon at the top next to Create Folder. Then confirm you wish to delete the desired file and then select Delete.
Multi select Files
Multi-select functionality allows users to move, download, and delete multiple files at once.
Benefit: This feature streamlines file management, improving efficiency when handling large quantities of files and saving time on repetitive tasks.
Uploading Files using Google Drive
-
Google Drive Sync: You can now link your Google Drive account to your Media Storage, making all your Google Drive files accessible directly within the CRM Media Storage. No more switching between apps!
-
Enhanced File Management: Enjoy existing features—such as organizing files into folders, previewing media, and moving files—now with the added power of Google Drive.
-
Unified Storage: Manage all your essential files in one place, across CRM documents, funnel media, and now your Google Drive files, reducing complexity and boosting productivity.
-
Sync benefits: Any changes made to files in Google Drive will reflect in your CRM. You can upload, organize, or remove files easily in Google Drive, and they will be in sync across both platforms.
How to Use?
-
Head to the Media Storage section in your CRM.
-
Click on Connect Google Drive in the top-right corner of the Media Library.
-
Follow the prompts to log in to your Google Drive account and grant access.
-
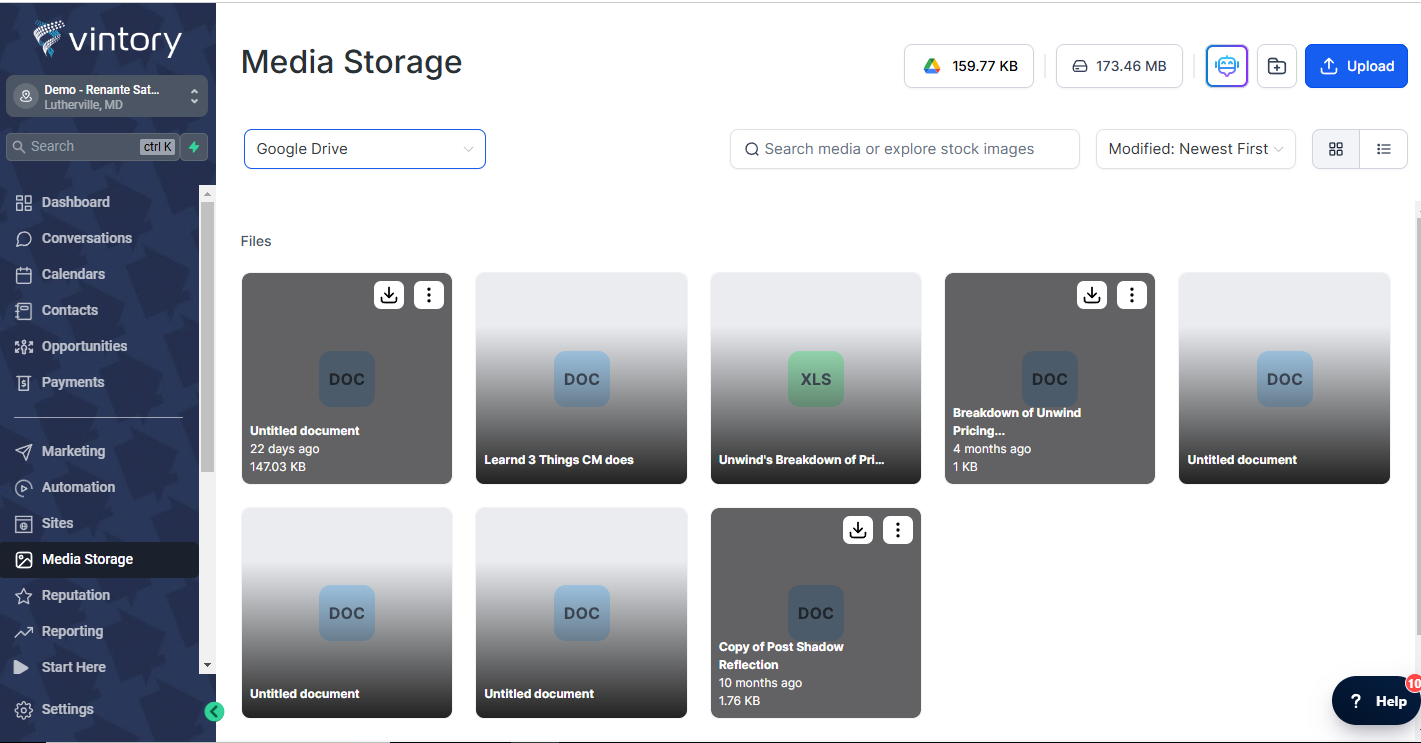
Once connected, click on Google Drive icon OR select select Google Drive from drop down
-
You will see Google Drive files and folder in your edia Storage. Drag, drop, and organize files just like you do with your CRM's native storage!

Why This Feature?
-
Centralize File Management: Reduce the need to juggle multiple platforms for file storage. Now, you can access everything from within Vintory, saving time and boosting productivity.
-
Boost Productivity: No more uploading the same file twice—Google Drive sync ensures your files are always up-to-date, no matter where they were uploaded from.
-
Increase Flexibility: Whether you’re working from your CRM, building a funnel, or using your Google Drive, you’ll have your essential files at your fingertips within CRM.
Notes
-
Create folder and upload files are two way sync.
-
Rename and delete for Google Drive is disabled by design to ensure protection.
-
User can create folder, upload files in folder and in root folder
Uploading files to the media library allows you to easily send them out via email. Common examples of files to send via email are welcome owner packets.