Updated: June 03, 2026
Certain find and merge duplicate features are only available to Admin-level users.
Merging Contacts
- Navigate to Contacts in the menu pane.
- Locate the contacts from the All Contacts list that you would like to merge together and checking the box to the left of each name.
- Click on More > Merge.
- Decide which contact will serve as the master record. This contact will retain the most information.
- Select the contact that will be the master record.
- Review the contacts to determine if any additional information needs to be transferred from one contact to the other.
- For example, if one contact has specific appointments or time zone information, make a note of it.
- Fill in any missing information, such as the time zone, if necessary.
- After the merge, verify that the contacts have been successfully merged into one.
- Check the conversation history, contact information, general information, additional information, activities, task notes, and appointments.
- Ensure that all the relevant information has been merged and is now available in one place.
You can only merge up to 10 contacts at once and CANNOT be UNDONE
If your contacts are too far apart, or on different pages in the contacts view, we recommend renaming the contacts to be similar enough to pull up onto the same page for easier merging.
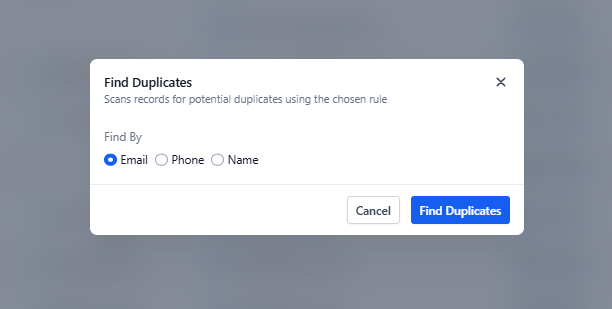
Finding Duplicates
- Navigate to Contacts
- Select the 3 dots located next to "Add Contact"
- Select Manage Duplicates
- Choose between "Email, Phone or Name"