Updated: February 03, 2026
STEP 1: Creating a Template of your Contract in the Vintory Platform
- Navigate to Payments in the menu pane.
- And then to Documents and Contracts.
- Then go to Templates.
- Head over to the right side and of the screen and click the New button and select New Template.
- Name the title of your template by clicking the New Document located at the top middle part of your template and replace it with your desired template title.
- Click the Add Element ( + ) button at the left side of your screen, select and drag Text to the blank template.
- Copy and paste all of the text from your property management agreement into the blank template.
STEP 2: Adding Custom Values to your Template
- Identify the fields that you would want to be auto-populated from your client's details.
- Get rid of the lines (blank fields) on your contract because we're going to be populating that and we don't really need to put any sort of spacing
- Go to 'Custom Value' section in the upper-right side of your screen. That's where you'll find custom values that will populate your client's details for you.

- Choose the appropriate custom value for the field that you would want to be filled in. Example: if you need the date today then you would go to 'Right now' and choose 'Day'. It should show words in parenthesis like in the video.
Step 3: Adding Signature, Initials and Assigning Recipient
- Click the Add Element ( + ) button at the left side of your screen, select and drag Signature to the appropriate field in your template. Click the Signature element and it will show 'to be signed by' which would be the recipient of the contract.
- Next we want the Property Manager to sign as well. They are technically considered recipients as well because they are still receiving the document. Add another Signature element and place it on the property manager signature field but this time you will need to assign it to the property manager by clicking to be signed by and then choose your property manager from down or the sender.
- If needed, there is an Initials element as well. Select and drag it to add to the template.
- Once every field has their own custom value you can now save your template by going to the upper-right corner of your screen and click Save.
Split Column Functionality in Documents and Contracts.
- Users can drag and drop elements side by side to automatically create columns, allowing for better organization and layout. This feature improves the presentation of information, making it easier to create clear and professional documents.
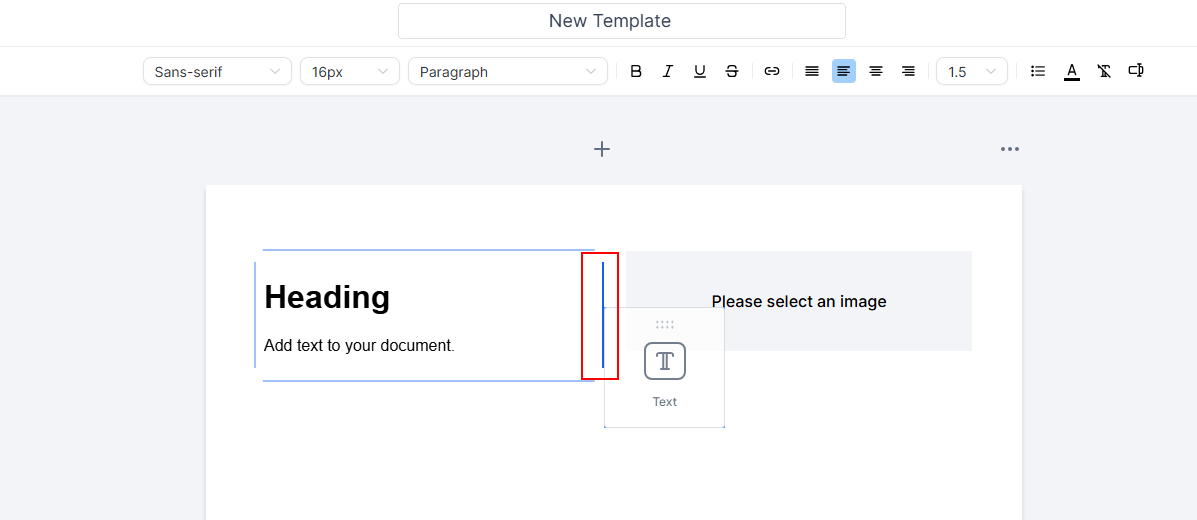
Be sure to move the element to the side bar of the blue box to use the split-column function
Tip: You can add a custom value (either 'Company Name' or owner's 'Full Name') in the title of your template so when you send it, it would actually pull the Company Name/Full Name and include it on the Title of your Template
ie. Property Management Agreement - Short Term Rental/John Smith.
Use Opportunity Custom Values within document templates for automated updates.
Benefit: This enhancement reduces manual entry by automatically populating documents with current opportunity data, streamlining contract management.