Updated: May 21, 2026
Contacts
Navigate to the Contacts tab in the menu pane.
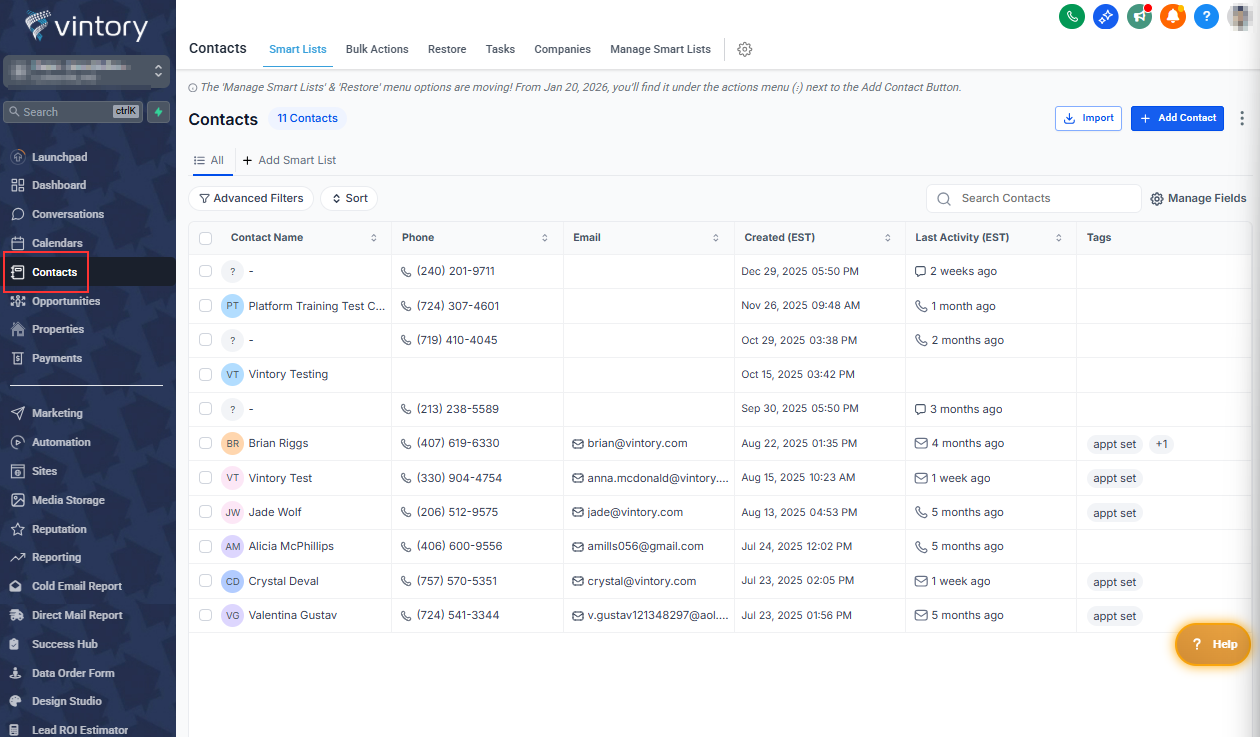
Across the top is the "All" tab. This will include all of the contacts you have in the system.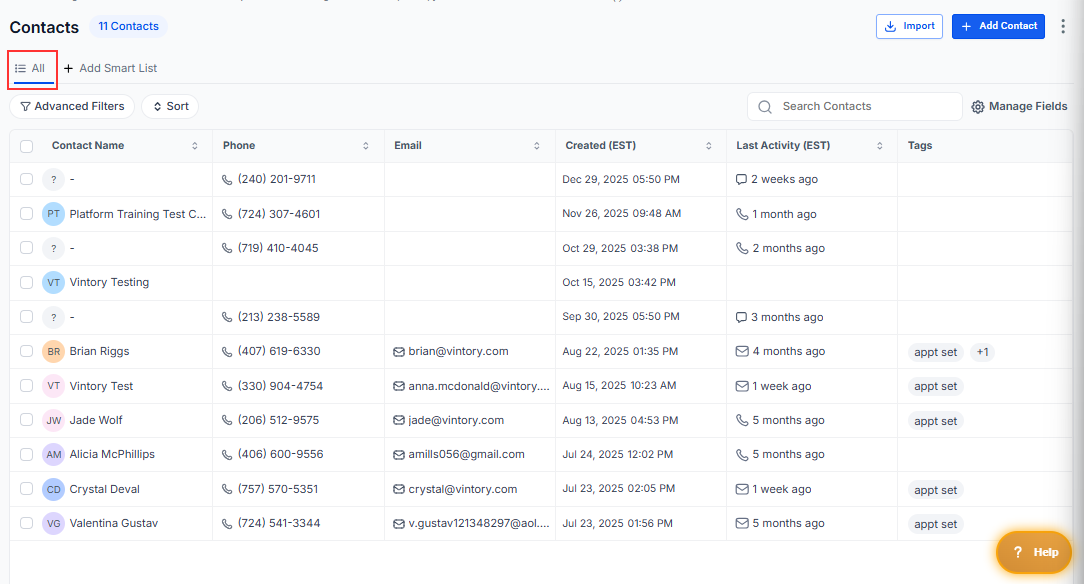
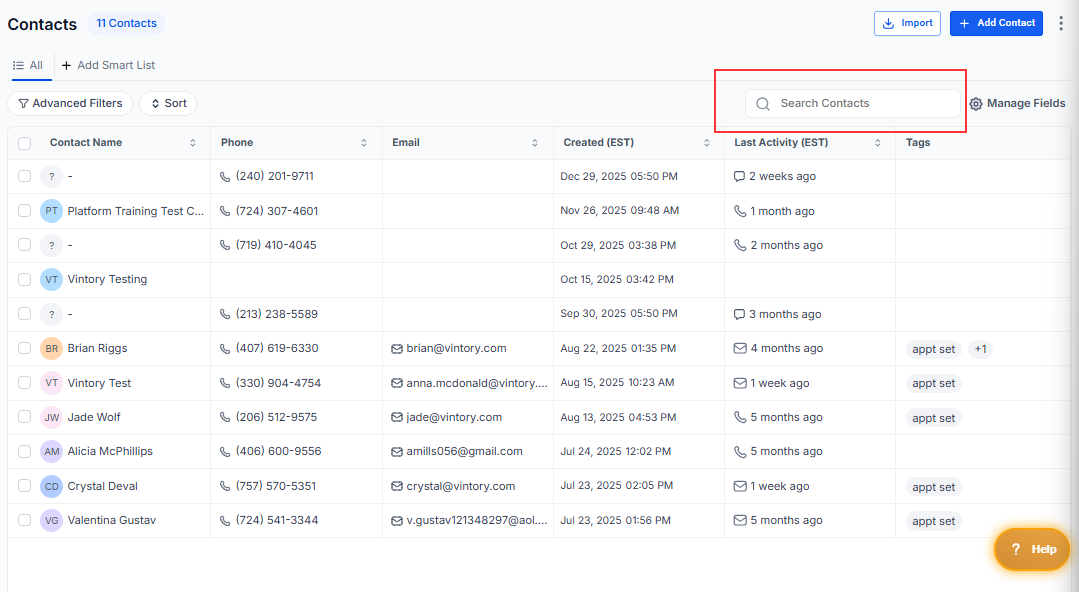
Search for any contact using the Quick search bar.
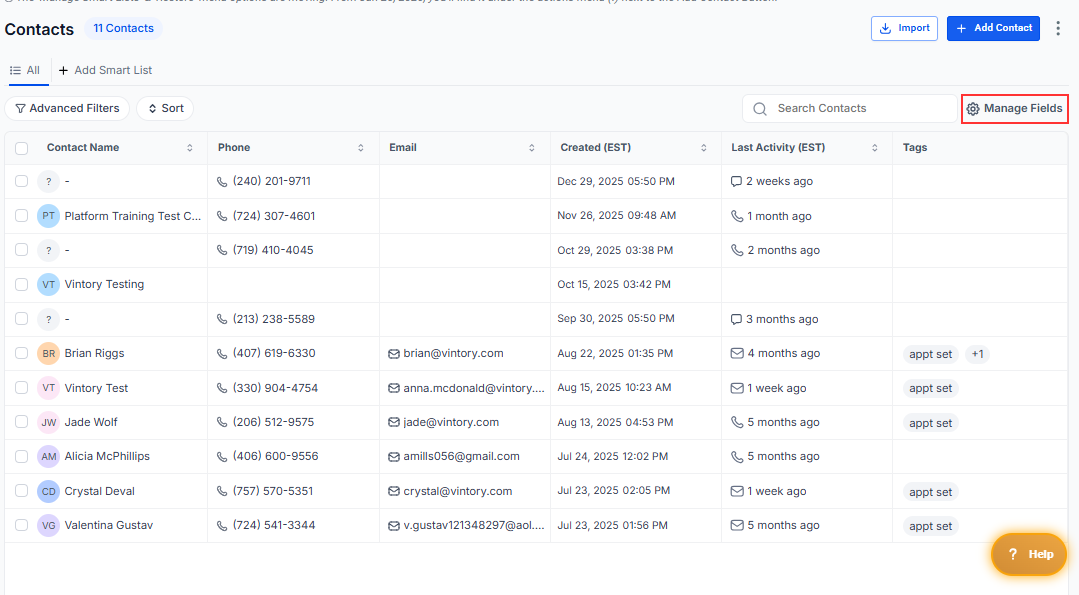
Use the Manage Fields to display selected columns such as First and Last Name.
Use the Advanced Filters to filter out your contacts and create different Smart Lists.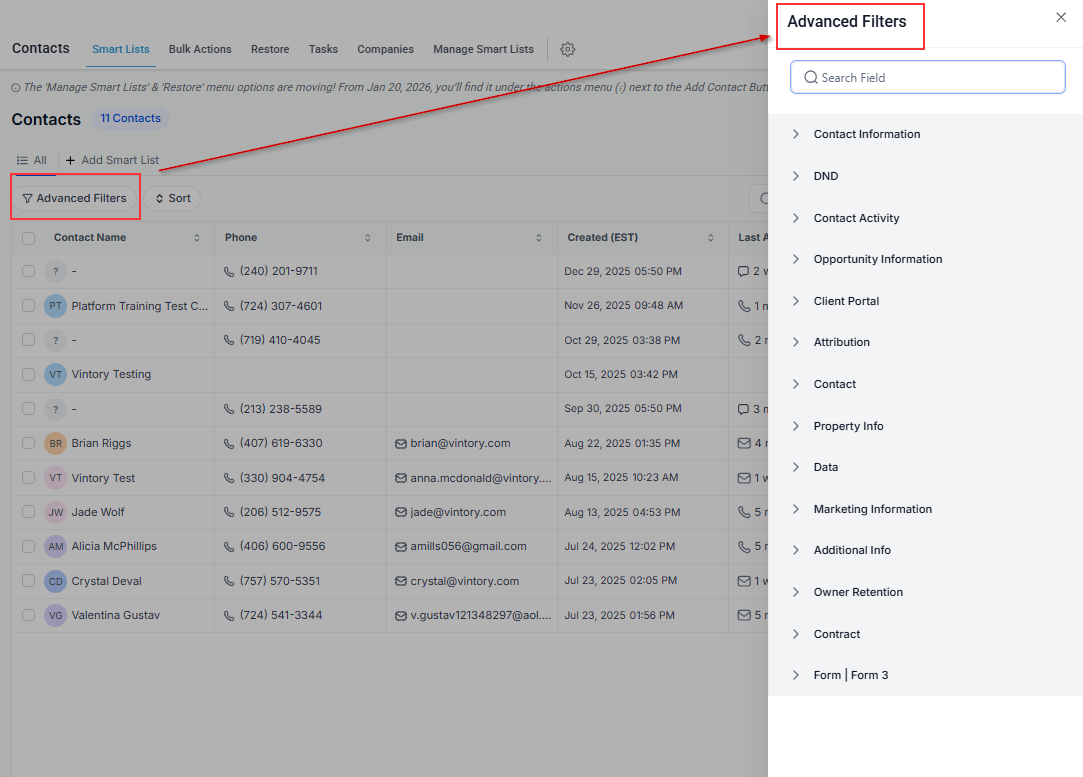
Click the Add Contact to manually add a contact.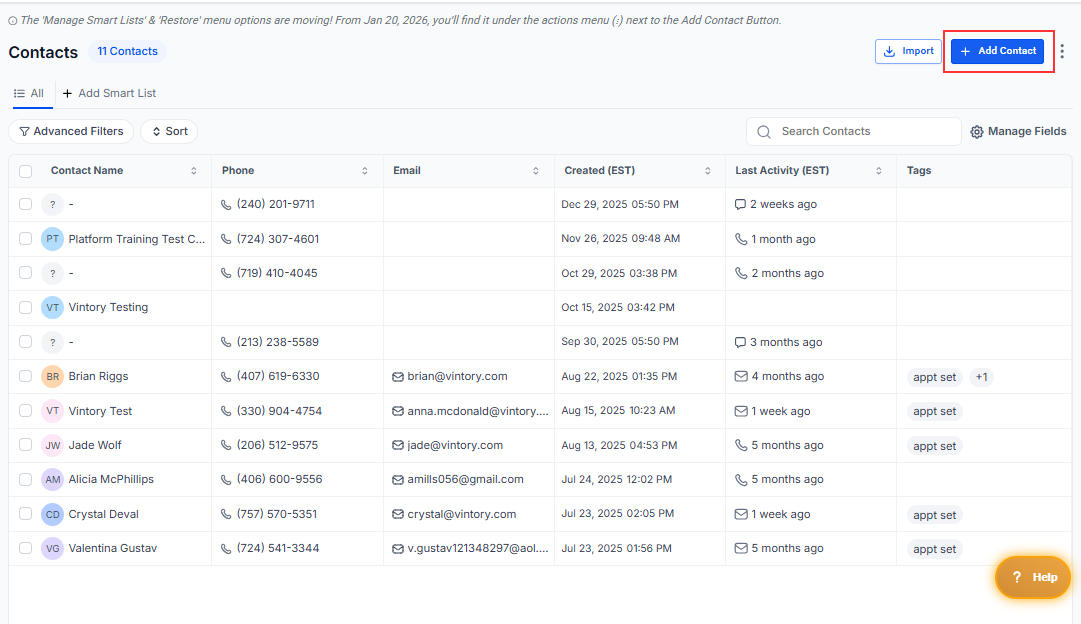
Select one or more contacts on the left to be able to utilize the functions that will appear above the contact list.

Functions
Some of these actions are only viewable based on admin access level.
- Add Tags:: Tag multiple contacts simultaneously
- Delete: Deleting a contact
- Manage Companies: Add/Remove contacts from a company
- Manage Opportunities: Add or update opportunities for all selected contacts
We strongly advise against deleting contacts from your account. Instead, it is best practice to mark the contact as Do Not Disturb (DND). This approach helps prevent the risk of re-adding the same contact to your records and inadvertently reaching out to them again.
You may also create your own tab or "Smart List" to organize and sort your data depending on what you want. It's a recommendation that you create your own Smart List, especially if you're building a campaign. It will help you filter contacts with conditions that will work for your campaign.
- Learn more about Smart Lists.
- Learn more about how to Import Contacts.