Updated: May 20, 2026
Uploading Files
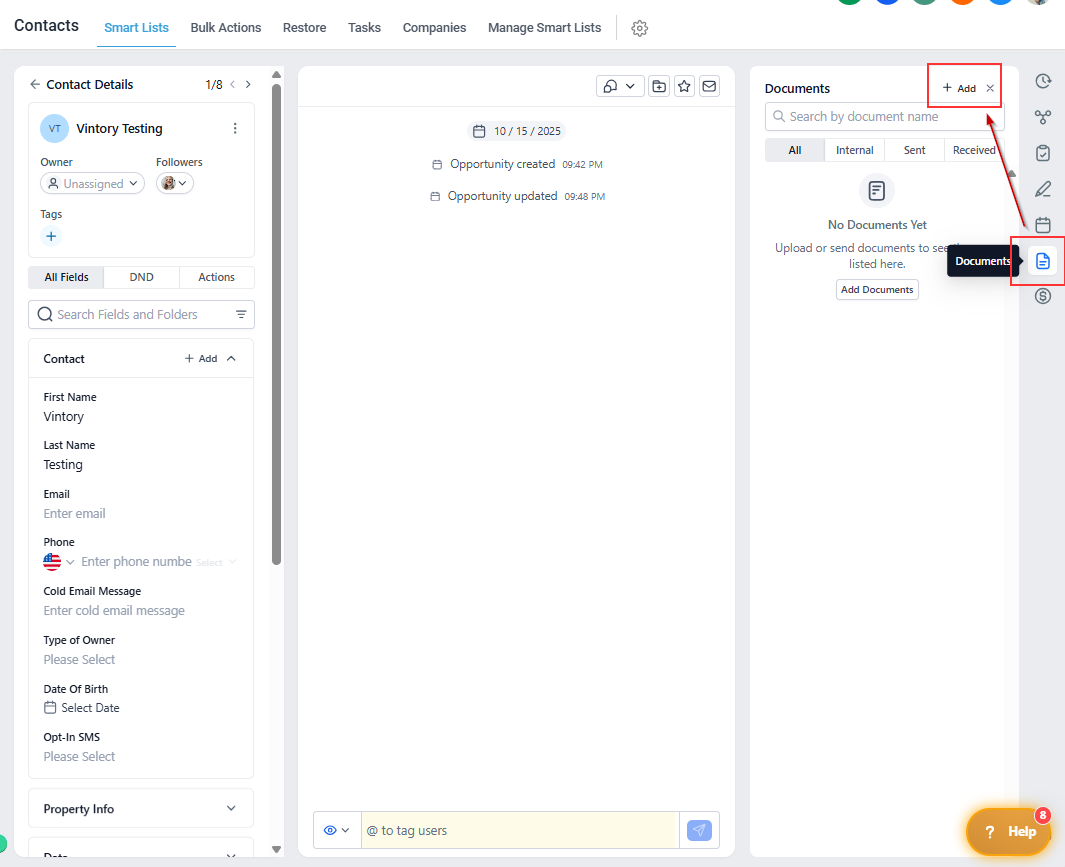
- Navigate to Contacts in the menu pane.
- Locate and select the contact you wish to add a file.
- On the right side of the contact card, locate the Documents field.
- Within the files field, click on the option to Upload a file (or you can drag and drop).
- In the window, browse through your files and select the file(s) you want to add to the contact. (You may add multiple files one at a time or by holding shift on your keyboard.)
- After selecting the file(s), click Open.
- At the bottom of the screen, click Save.
- The selected file(s) will now be added to the contact card.
- Once completed, the files will turn green and will say "saved" underneath to indicate that it was successful.
- If you need to add more files to the same contact, you can repeat these steps. Remember to click the Save button after each file upload.