Updated: November 13, 2024
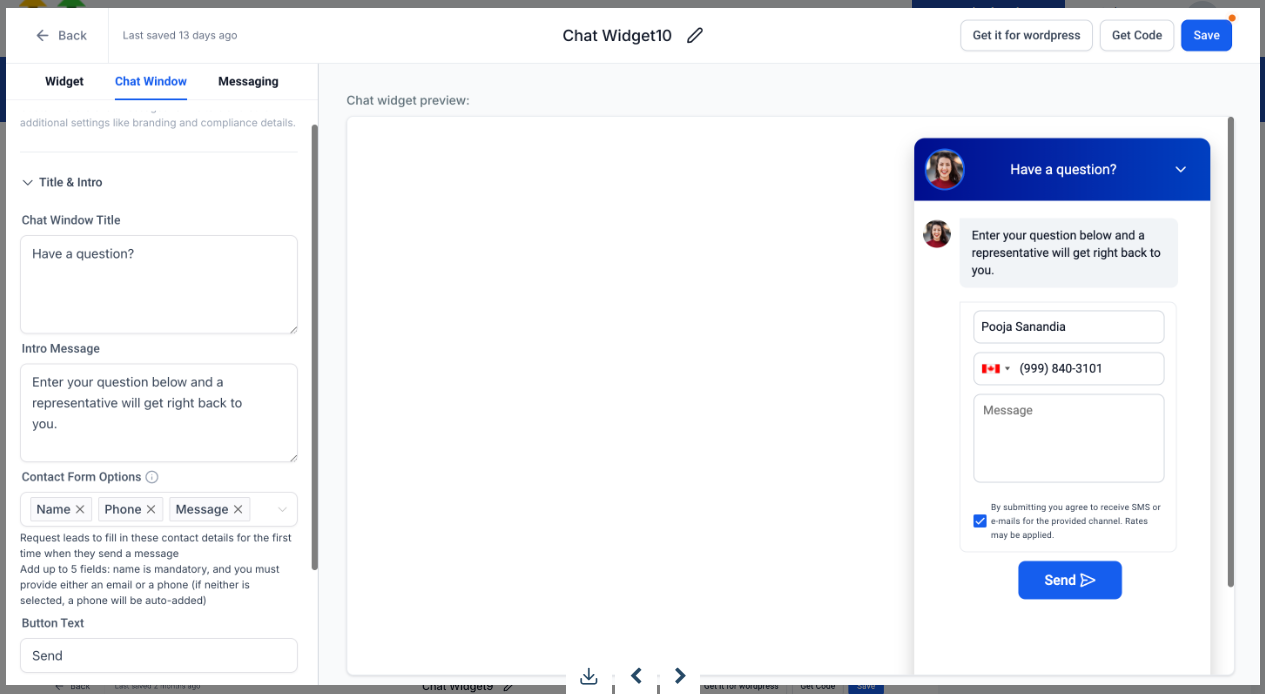
Getting Started with Chat Widget
Chat Widget is one of ways to convert visitors to potential leads. Chat Widget helps you to enhance customer experience to provide immediate support when and where customers need it.
Chat widgets provide a range of benefits, especially for businesses looking to enhance customer engagement, improve support efficiency, and drive conversions. Here are some of the key advantages:
1. Real-Time Customer Support
- Users get instant answers to their questions, reducing wait times and improving the overall customer experience.
- Issues can be resolved immediately, enhancing customer satisfaction and loyalty.
2. Increased Engagement and Conversions
- Chat widgets encourage interaction by offering help when customers need it, helping to prevent cart abandonment and increase conversion rates.
- They can proactively engage users based on behavior, such as spending a long time on a product page.
3. Improved Efficiency and Cost Savings
- Automating responses to common questions through a chatbot reduces the volume of queries that need human support, saving on labor costs.
- By handling multiple conversations at once, chat widgets improve support efficiency.
Chat Widget is provided in three options -
1. Email and SMS Chat - This chat will collect the visitor’s information so that you can respond to them via SMS or email later. It is great for small teams that are not staffed 24x7
2. Live Chat - Live chat is a real-time, 2 way conversation within the chat widget. Great for teams with 24x7 coverage and with Conversation AI installed.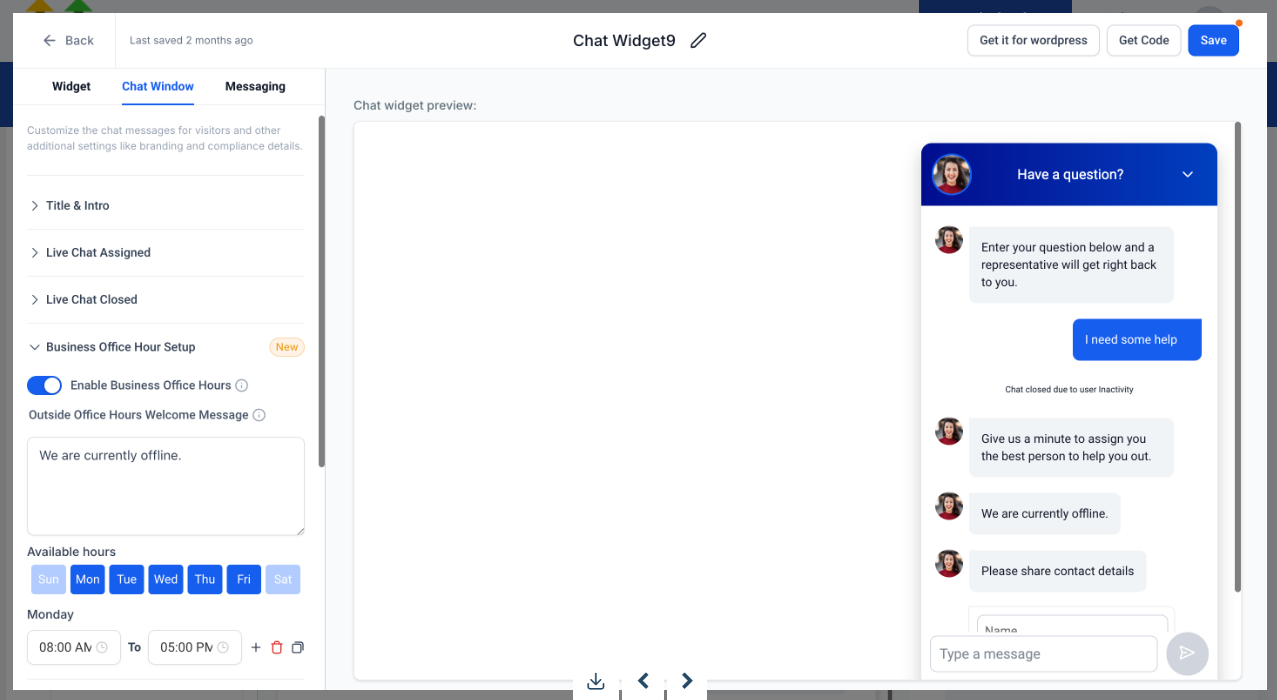
3. Whatsapp Chat - A whatsapp integrated 2 way conversation on chat widget. The user needs a whatsapp approved number. It is also great for small teams that are not staffed 24x7
Be sure your Chat Widget Notification automation is published so you can begin receiving notifications for the chat. Navigate to Automations in the menu pane. In the Search bar, type in Chat Widget Notification to locate the correct automation. Turn it from Draft to Publish mode.